
 AI SMM team
You recorded an hour-long webinar, a podcast episode or a live Q&A. It went out once, a few dozen people watched it, and now it sits on YouTube while your short-video channels ask for something new every day. Cutting it into clips by hand means scrubbing the timeline, reframing to vertical and typing subtitles for an evening. This lesson shows how to get a batch of ready vertical clips from one link, check them and spread them across a couple of weeks in AI SMM.
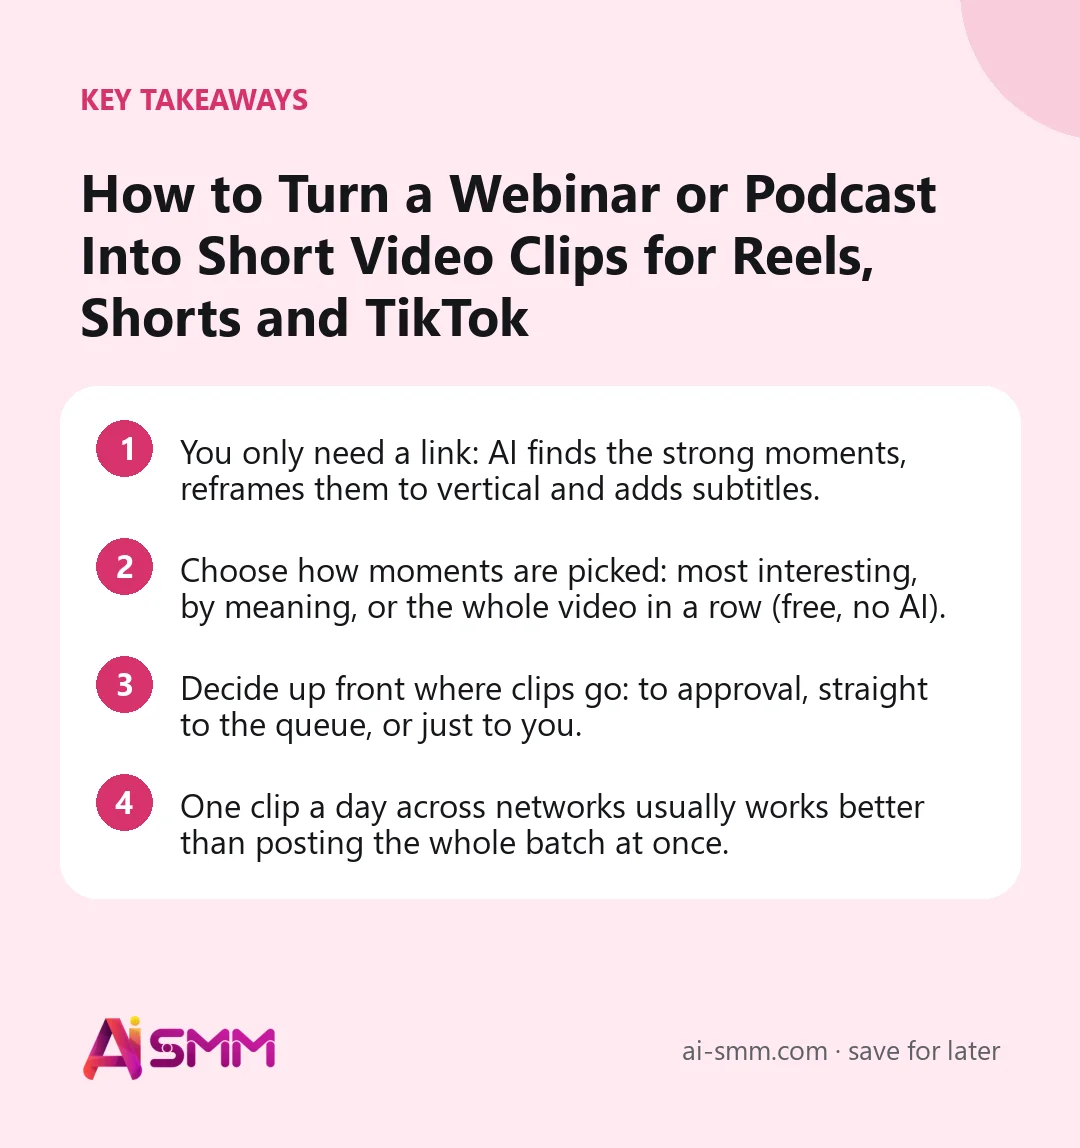
- You only need a link: AI finds the strong moments, reframes them to vertical and adds subtitles.
- Choose how moments are picked: most interesting, by meaning, or the whole video in a row (free, no AI).
- Decide up front where clips go: to approval, straight to the queue, or just to you.
- One clip a day across networks usually works better than posting the whole batch at once.
What you will build in this lesson
From one long video you will get a set of vertical clips with subtitles and your branding, reviewed by you, and scheduled one or two a day to TikTok, Instagram Reels and YouTube Shorts. You will also save your settings as a template, so the next video takes minutes of your time instead of an hour.
What you need
- A link to the long video. YouTube, Vimeo, Rutube, Twitch, Kick, Dailymotion and other popular platforms are supported. If your webinar recording is only a file on your computer, publish it on one of these platforms first.
- The rights to the video. Clip only what you own or have permission to use.
- Connected short-video accounts if you want to schedule from AI SMM: TikTok, Instagram, YouTube, and Facebook if you post Reels there.
- AI credits for the AI modes. The button shows the approximate cost before you start.
Not sure yet? The clipping page has a free demo video you can try first.
Step 1. Open Video clips and paste the link
- Open All apps → Video. The menu has Video clips, Channel autopilot, Stories generator and Video editor.
- Open Video clips and paste the Video link.
Video clipping and how much of it you can do per day depend on your plan.
Step 2. Choose which moments to take
| Mode | What it does | Typical time | Credits |
|---|---|---|---|
| Most interesting moments | AI scores moments and picks the strongest | 10–30 min | charged |
| By meaning | Clips follow complete thoughts | 5–15 min | charged |
| Whole video in a row | The video is simply cut into parts, without AI | 2–5 min | free |
For a webinar, By meaning usually gives the cleanest result: each clip is one answer or one tip. For a lively podcast or stream, Most interesting moments is better at finding peaks. Whole video in a row suits recordings where every part matters, such as a lesson split into episodes.
Telling AI what kind of video it is helps: tutorials need complete steps, entertainment needs peaks.
Step 3. Set the number and length of clips
Set how many clips you want and the clip length in seconds. AI starts each clip at the hook and ends it where the thought ends, always inside your range. A practical starting point: a range of roughly 30–60 seconds and 6–10 clips from an hour of talk. Shorter clips are easier to watch to the end; longer ones suit explanations. Networks have their own length limits, so check them if you plan to post everywhere; see what you can publish to each network.
Step 4. Choose the options
- Cut pauses and “um”s. Dead air is jump-cut and subtitles follow. You can add your own filler words; empty means the built-in list.
- Voice-over with subtitles and the language, if you want the clip in another language.
- Layouts such as split screen, two speakers or webcam. The two-speaker layout is for a podcast or interview shot on one wide camera.
- B-roll: a few seconds of stock footage cut into each clip.
- Channel branding: your logo and channel name on every clip. Create it once and every clip of that channel carries it.
Step 5. Decide where the clips go
- Send for approval first: clips wait with Approve and Reject; an approved clip takes the next free slot.
- Straight into the publishing queue: for a channel you already trust the settings for.
- Show me the clips, I will publish myself: the safest choice for your first run.
Click Make clips. Credits are charged only after a successful render, and you can close the page while the clips are being made.
Step 6. Review, edit and schedule
- Watch every clip and read the subtitles. Names, brand names and terms are where mistakes happen.
- For finer changes, click Add to editor and open the clip in the Video editor: move captions, change the caption style, trim.
- On the finished project, click Schedule clips, choose how many clips per day and schedule them. Or download all clips as a ZIP archive.
- Add a short caption for each network in the calendar if needed. A Reel caption and a YouTube Shorts title are read differently.
Settings you liked can be kept with Save template and chosen next time from your clipping templates.
How to choose a video that clips well
AI can only pick strong moments if the video has them. Before you paste a link, run it through a quick check:
- Clear speech. One or two speakers with decent microphones give the best clips and the most accurate subtitles.
- Self-contained answers. Q&A sessions, interviews and “top mistakes” talks clip better than a slide-by-slide lecture where every point depends on the previous one.
- A face on screen. Vertical framing works best when there is a person to frame. Screen shares and slides can still work in a split-screen layout.
- Few inside references. “As I said at the start” makes a clip confusing out of context. If your webinar has many of these, choose shorter clips.
If you plan webinars with clipping in mind, say each key idea in one or two complete sentences. It helps viewers of the full recording too.
Worked example: an accountant’s monthly webinar
Say a small accounting firm runs a one-hour webinar every month on tax deadlines for sole traders. After it airs on YouTube, the assistant pastes the link, chooses By meaning, 8 clips of 30–60 seconds, cut pauses on, the firm’s branding on, and Show me the clips, I will publish myself.
Twenty minutes later there are eight clips. One cuts off mid-sentence and is rejected; one has the firm’s name misspelled in subtitles and is fixed in the editor. The remaining seven are scheduled one a day to Instagram, TikTok and YouTube. Each clip ends with the same short call to action in the caption: the date of the next webinar. The next month, the saved template makes the whole job a ten-minute task.
Set it and forget it: Channel autopilot
If you publish long videos regularly, let AI SMM react to them.
- Open Channel autopilot and create a new rule.
- Paste a YouTube or Twitch channel or playlist.
- Choose what happens when a new video appears: Clip it automatically or get a notification.
- Choose the clipping template, the maximum per day and where clips are published.
- Optionally record streams while they are live. Processing older videos is off by default, so your whole back catalogue is not clipped at once.
More in video clips: turn a long video into Shorts and Reels.
Common mistakes
- Choosing a noisy source. Clear speech and one or two speakers give the best clips; a room recording with background chatter does not.
- Posting all clips on one day. Spread them; each clip gets its own chance with the algorithm.
- Not reading subtitles. A misspelled product name repeats in every view.
- Going straight to the queue on the first run. Start with review until you trust the template.
- Clips without a next step. Say in the caption what to do: watch the full video, come to the next webinar, write a keyword in DMs.
How to measure the result
After two weeks, open Pulse and look at the Posts tab, which ranks posts by engagement rate. Compare clips with each other: which topics and which first seconds held attention. On TikTok, YouTube and Instagram you also see views and followers in per-account Analytics. Use what worked to choose the next webinar topic, and adjust the clip length range in your template. See analytics with AI hints.
FAQ
How long does clipping take?
Usually 2–5 minutes for the whole video in a row, 5–15 by meaning and 10–30 for the most interesting moments, depending on the length.
Do clips publish automatically?
Only if you choose “Straight into the publishing queue” or set autopilot to publish. Otherwise they wait for you.
Can I edit the subtitles?
Yes. Style, position and text can be changed before publishing, in the clip preview or the video editor.
Are credits spent if a clip fails?
No. Credits are charged only after a successful render.
Next lesson: read your analytics and turn the numbers into three concrete actions for next week. Meanwhile, paste your latest long video into AI video clipping and see what it finds.
Posts, chats, video and sales in one workspace. 7 days free.
Start free