
 AI SMM team
The most useful social media video tips are about basics, not gear: shoot vertical on the back camera, face a window, get the microphone close, lock focus and exposure, add captions and cut everything that is not needed. A phone from the last few years is enough for Reels, TikTok and Shorts; what usually spoils business videos is dim light, echoing sound and a slow start. Below is a practical guide for shooting on a phone, with settings, a cheap kit list, length by network and a checklist to run before you post.
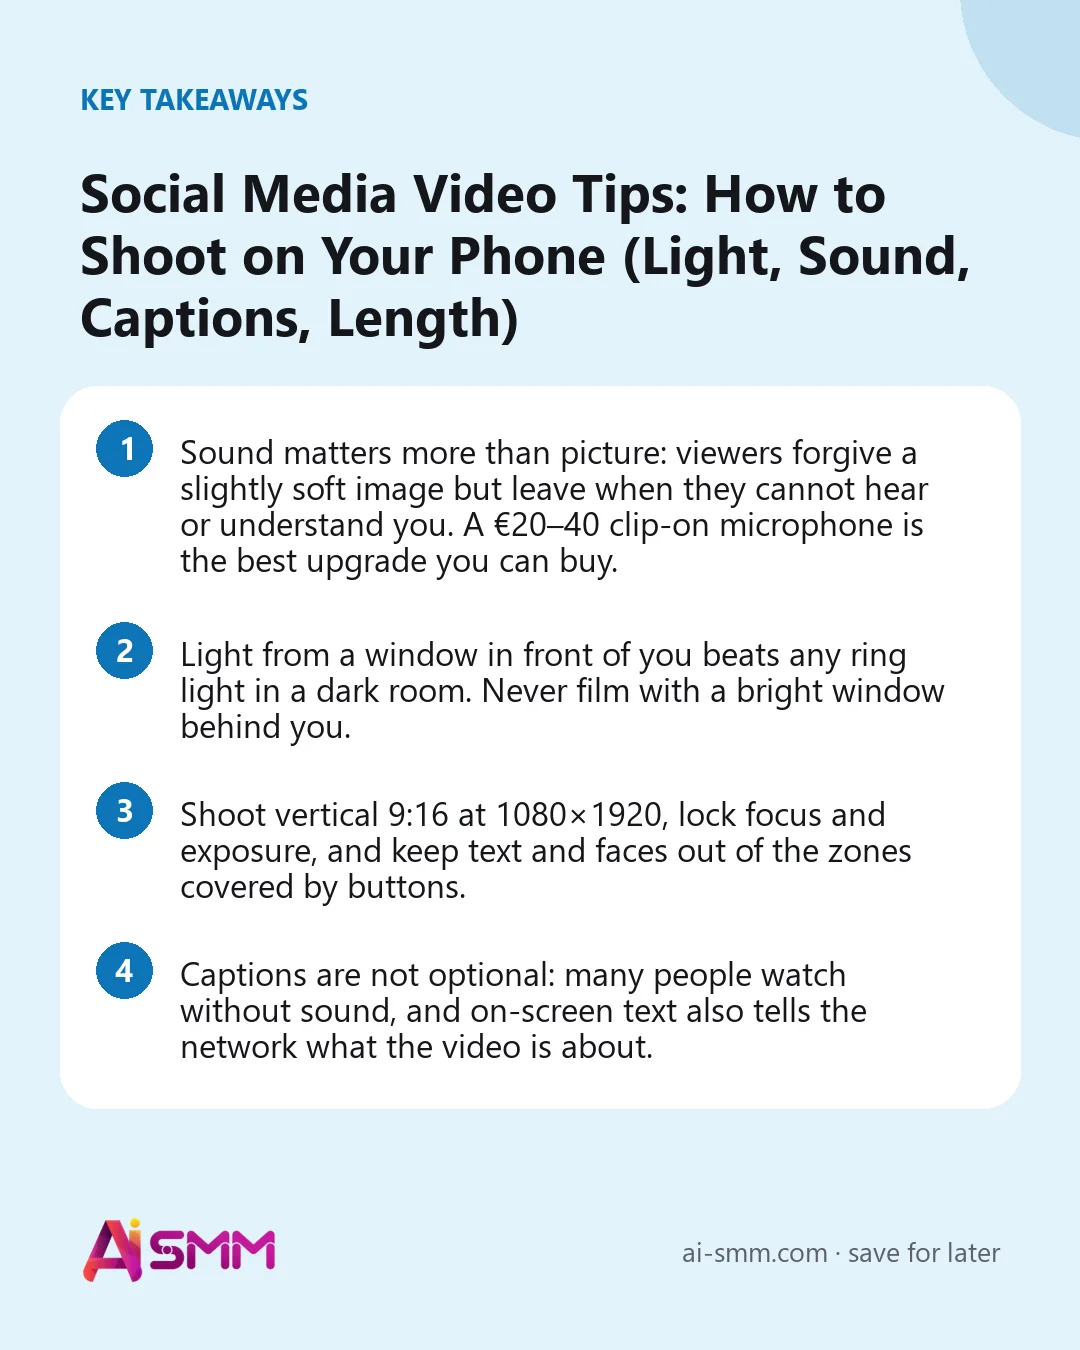
- Sound matters more than picture: viewers forgive a slightly soft image but leave when they cannot hear or understand you. A €20–40 clip-on microphone is the best upgrade you can buy.
- Light from a window in front of you beats any ring light in a dark room. Never film with a bright window behind you.
- Shoot vertical 9:16 at 1080×1920, lock focus and exposure, and keep text and faces out of the zones covered by buttons.
- Captions are not optional: many people watch without sound, and on-screen text also tells the network what the video is about.
Social media video tips start with gear: what you need and what you can skip
A small business does not need a camera. A phone released in the last four or five years, used well, is enough for every short-video format. Spend money in this order and stop when videos look and sound good enough:
| Item | Rough price | Why it matters | Priority |
|---|---|---|---|
| Clip-on (lavalier) or wireless microphone | €20–80 | Clean, close voice; removes room echo and street noise | High |
| Small tripod or phone clamp | €10–30 | Stable frame, same framing across episodes, hands free for demos | High |
| Lens cloth | €2 | Fingerprints on the lens are the most common cause of “hazy” video | High (and free if you use your shirt carefully) |
| Soft LED panel or daylight lamp | €25–60 | Consistent light for evening shoots or windowless rooms | Medium |
| Ring light | €20–50 | Flat, even face light for talking heads; reflects in glasses | Low to medium |
| Gimbal | €70+ | Smooth walking shots | Low for most businesses |
If your budget allows one purchase, buy the microphone. If it allows two, add the tripod.
1. Phone settings before you press record
- Clean the lens. Every time. It takes two seconds.
- Use the back camera when you can. It is usually noticeably better than the front one. Use the front camera for talking heads only if you need to see yourself; many phones let you preview on a smartwatch or a second phone instead.
- Resolution and frame rate: 1080p or 4K at 30 fps is a safe default. 60 fps is useful for fast movement or slow motion. Keep the same frame rate for all clips in one video.
- Vertical 9:16. Hold the phone upright, or mount it vertically on the tripod. Final export: 1080×1920.
- Lock focus and exposure. On most phones you press and hold on the subject until a lock appears. This stops the picture from “breathing” when you move your hand or someone walks behind you.
- Turn on grid lines in camera settings to keep horizons straight and eyes in the upper third.
- Airplane or do-not-disturb mode. A notification sound or an incoming call ruins a good take.
- Avoid digital zoom. Walk closer instead, or use the phone’s native telephoto lens if it has one.
2. Framing: where to put yourself and the product
Vertical video is narrow and viewed on a small screen, so keep compositions simple.
- Talking head: camera at eye level, not below the chin. Frame from mid-chest up with a little space above the head. Eyes roughly on the upper grid line.
- Product or process: fill most of the frame with the thing that matters. A cake on a busy counter reads worse than a cake on a plain board filmed close.
- Background: tidy, with a little depth. Standing a metre or two in front of a wall looks better than leaning against it. Your real workplace (salon chairs, shelves, oven) is a better background than a blank wall because it shows what you do.
- Safe zones: the bottom part of the screen is covered by the caption and username, the right side by like and comment buttons, the top by the network’s header. Keep faces, products and on-screen text in the middle area.
- Change the shot every few seconds. Alternate a wide shot, a close-up of hands and a detail. Movement keeps attention without any effects.
3. Light: the cheapest way to look professional
Most “cheap-looking” videos are simply underlit. The phone compensates by raising sensitivity, which adds grain and smears detail.
- Face a window. Daylight from the front or at a slight angle is the best free light there is. Overcast days give soft, even light; in direct sun, a thin white curtain softens it.
- Never put a bright window behind you. The phone exposes for the window and your face turns into a dark silhouette.
- Turn off mixed lights. Warm ceiling bulbs plus cold daylight make skin look patchy. Pick one source type, or turn the ceiling light off.
- Avoid light straight from above. Ceiling spots create dark eye sockets. Front light or side light is kinder.
- For evening shoots, put a soft LED panel slightly above eye level and to one side of the camera, and a second weaker light or a white wall on the other side to fill shadows.
- Products: shiny packaging reflects lamps, so move the light to the side until the glare disappears. For food, side light from a window shows texture best.
4. Sound: the part viewers notice first
People forgive a slightly soft image. They do not forgive a voice they have to strain to hear, or a room that sounds like a bathroom.
- Get the microphone close. A clip-on mic 15–20 cm from the mouth sounds far better than the phone’s built-in mic two metres away.
- Pick a “soft” room. Curtains, sofas, carpets and shelves absorb echo. Bare walls and tiles bounce it. A bedroom or a salon with towels often sounds better than an empty office.
- Kill background noise: fridge, air conditioner, coffee machine, music. Record a few seconds of silence before speaking; it helps if you need to clean the audio later.
- Record a test. Ten seconds, played back with headphones, before the real take.
- Music under speech: keep it low. If viewers need captions to understand you over the track, the music is too loud. Use the network’s licensed library or tracks you have rights to.
5. Speaking on camera without a script disaster
- Write bullet points, not a script. Reading word for word sounds stiff. Three to five bullets per video is enough.
- Film in short takes. One thought per take, then cut them together. Nobody needs to deliver 60 seconds perfectly in one go.
- Start with the point. The first sentence is the promise: “Three things to check before you sign a lease.” No greeting. If you are stuck, borrow an opening from these hook formulas.
- Look into the lens, not at yourself on the screen. Put a small sticker next to the lens if it helps.
- Speak slightly faster and with more energy than in a normal conversation. On camera it reads as natural.
- Repeat a sentence if you stumble, pause, and say it again. You will cut the mistake in editing.
6. Editing: cut until nothing is left to cut
Built-in editors in Instagram, TikTok and YouTube, or a free phone editor, are enough for most business videos. The edit that matters:
- Remove the first second before you start speaking and every pause longer than half a second.
- Start on the most interesting frame: the finished result, the moment of action, the problem in close-up.
- Add on-screen text for the hook in the first seconds and for key steps.
- Keep colour natural. A light touch of brightness and contrast is fine; heavy filters make skin and products look wrong.
- Export at 1080×1920 without the watermark of another app, and keep the original file for other networks.
7. Captions and on-screen text
Many people scroll with the sound off, in public transport, at work or late at night. Captions keep them, help people with hearing loss and give the network more context about your topic.
- Two kinds of text: subtitles (what you say, word for word or close) and titles (the hook and key points). Use both.
- Readable: large, high-contrast letters, one or two short lines at a time, a shadow or background box on busy footage.
- Placement: in the middle of the frame, above the bottom zone covered by the caption and buttons.
- Check auto-generated subtitles. They often mangle brand names, prices and specialist terms.
- Consistent style: the same font, colour and position on every video makes your content recognisable in the feed.
- Write the post caption too. The text under the video should repeat the promise in words people might search for, and end with one clear next step.
8. How long should social media videos be?
Networks keep raising their maximum lengths, so the useful question is not “how long can it be” but “how long will people watch”. A practical guide:
| Where | Good starting length | Notes |
|---|---|---|
| Instagram Reels | 15–60 s | Longer Reels are allowed; keep them for step-by-step tutorials |
| TikTok | 20–60 s | Longer explainers can work in search-driven niches |
| YouTube Shorts | 20–60 s | Link to a related long video for people who want more |
| Stories | 5–15 s per frame | Several short frames beat one long clip |
| LinkedIn feed video | 30–90 s | Subtitles are essential; many watch at work without sound |
| Facebook feed video | 30–90 s | Vertical or square fills more of the screen |
| Long YouTube video | 6–20 min | As long as the topic needs; chapters help viewers navigate |
Treat these as starting points. If your analytics show people watch 70% of a 90-second video, that is better than 30% of a 20-second one. Length is only one part of the plan; how often you post and which series you run are covered in the guide to a short-form video strategy.
Pre-post checklist
- Lens cleaned, focus and exposure locked, phone in do-not-disturb mode.
- Vertical 9:16, 1080×1920 export, no other app’s watermark.
- Face or product lit from the front or side; no bright window behind.
- Voice clear on headphones, no echo, music low.
- First frame shows action or a result; first sentence states the promise.
- Hook text on screen in the first seconds, inside the safe zone.
- Subtitles checked for names, prices and terms.
- Pauses cut; nothing left that could be removed.
- Caption with searchable words and one next step (comment, DM, link in bio).
- Cover frame chosen for networks that show it on the profile grid.
Where AI SMM helps with phone videos
Once a video is filmed, the AI content studio can write the post caption in your brand voice, with several options to choose from, so you do not spend longer on the text than on the shoot. If you also record long videos, such as webinars, lives or client Q&As, video clipping cuts them into vertical clips and adds subtitles automatically; the subtitle font, colour and position are set once and reused on every clip, which gives you the consistent caption style described above.
Finished videos go into the calendar and can be published to Instagram, TikTok, YouTube, Facebook and other networks from one place, with a separate caption per network. Later, analytics shows which videos held attention on networks that report it, so you can see whether better light and sound actually changed the numbers.
FAQ
Is a phone good enough for business videos?
Yes. For Reels, TikTok, Shorts and Stories, a recent phone with good light and a close microphone looks and sounds better than an expensive camera used in a dark, echoing room. Upgrade sound and light first; a camera comes last, if ever.
Front or back camera?
The back camera usually gives better quality, especially in lower light. Use the front camera when you need to see yourself to stay in frame, and make up for it with more light.
Should I film in 4K?
It is optional. 4K gives you room to crop and zoom in editing, but files are larger and networks show short videos at lower resolution anyway. 1080p at 30 fps is a reliable default.
Do I need subtitles if I already have on-screen titles?
Ideally, yes. Titles carry the hook and the key points; subtitles let someone follow every sentence with the sound off. Together they keep far more viewers than either one alone.
Good light, close sound and captions turn an ordinary phone into a perfectly good studio. Film your next video with the checklist above and plan it with the rest of the week in the AI SMM calendar.
Posts, chats, video and sales in one workspace. 7 days free.
Start free