
 AI SMM team
Most people who visit your website will never give you their email, and many do not follow you on social media either. Once they close the tab, you have no way to tell them about a new product, a sale or an article. Web push notifications close that gap: a visitor clicks “Allow” once, and from then on you can send a short message straight to their screen, no app and no email needed. This lesson shows how to set it up in AI SMM from the first file on your server to the first campaign.
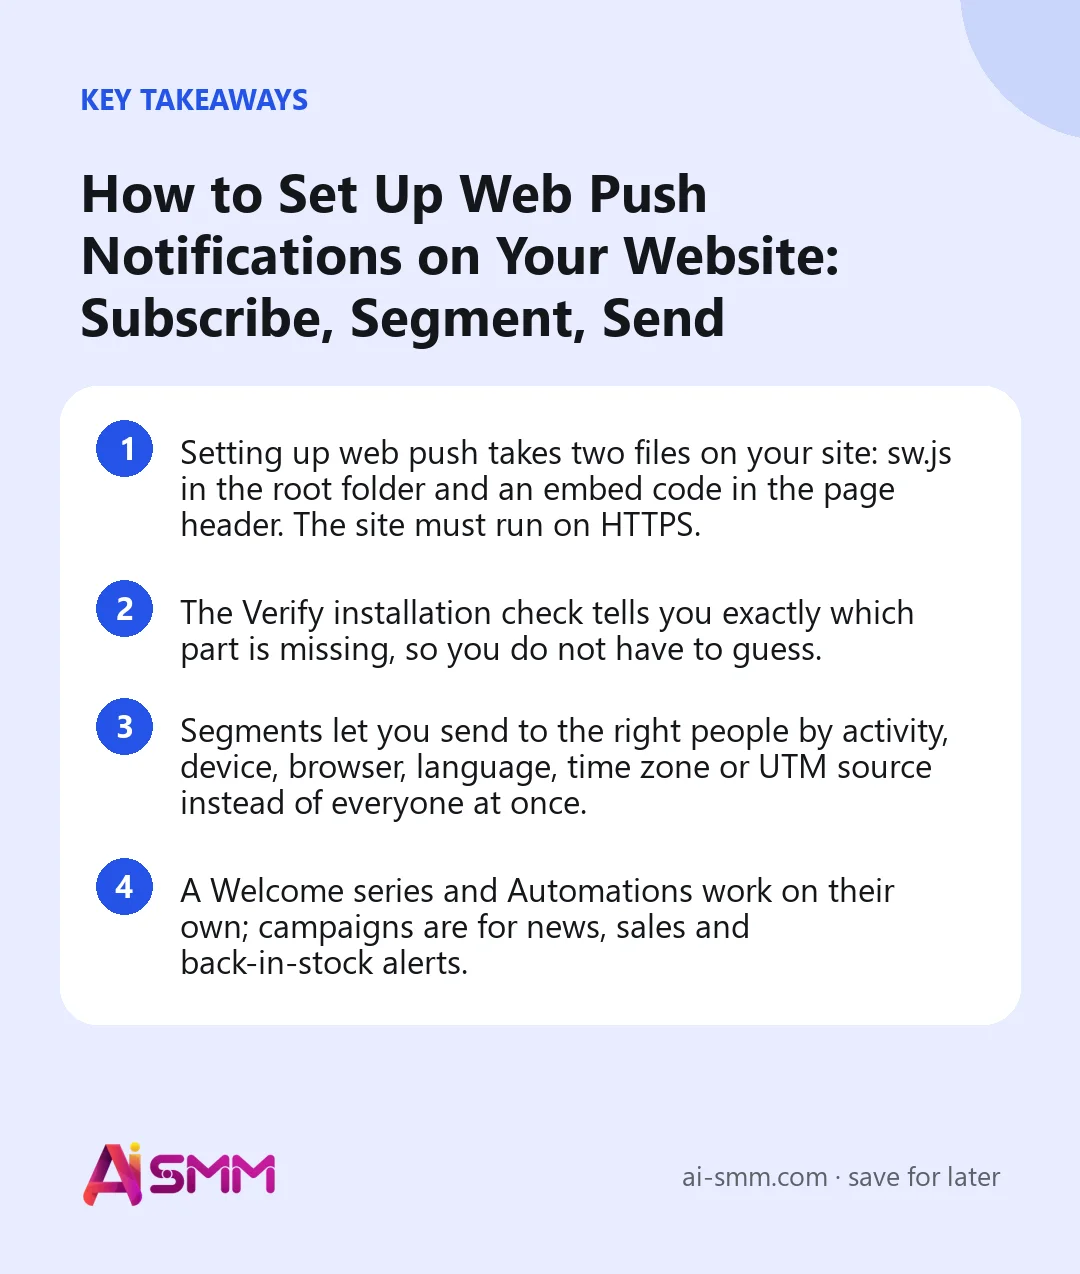
- Setting up web push takes two files on your site: sw.js in the root folder and an embed code in the page header. The site must run on HTTPS.
- The Verify installation check tells you exactly which part is missing, so you do not have to guess.
- Segments let you send to the right people by activity, device, browser, language, time zone or UTM source instead of everyone at once.
- A Welcome series and Automations work on their own; campaigns are for news, sales and back-in-stock alerts.
What you will build
By the end of the lesson your website will ask visitors for permission to send notifications, store everyone who agrees as a subscriber, greet new subscribers with a short welcome series and let you send your first campaign to a chosen segment. You will also know where to look to see whether the notifications bring people back.
What you need before you start
- Access to the Web Push Notifications app in AI SMM (open All apps; availability depends on your plan).
- A website on HTTPS. Browsers only allow push subscriptions on secure sites.
- A way to upload a file to the root of your domain (for example through your hosting file manager or FTP) and to paste code into the page header. If you do not manage the site yourself, send these two steps to whoever does.
- A square icon, usually your logo, which will appear next to every notification.
Step 1. Connect your website
Open All apps → Web Push Notifications. The menu has Overview, Sites, Subscribers, Segments, Activity, Campaigns, Templates, Automations, Welcome, RSS to Push, Reports and Settings.
Go to Sites and start a new connection. The first screen asks for:
- the website domain, without https:// (for example example.com);
- a default icon from your Files library, and optionally a badge icon;
- optional UTM values, so you can later see which subscribers and campaigns came from where.
Click Create site. AI SMM saves the domain, generates the security keys browsers need to accept your notifications and creates a service worker file for your site.
Step 2. Install sw.js and the embed code
On the site’s page you will see two things to put on your website:
- Download sw.js and upload the file to the root of your domain, so that it opens at https://your-domain/sw.js. It must be on the same domain as the pages where people subscribe, not in a subfolder.
- Copy the embed code and paste it into the header of your pages, before the closing </head> tag.
Then click Verify installation. The check looks at four things separately: whether the website responds, whether sw.js is reachable at the domain root, whether the embed script is found in the page HTML and whether the security keys are in place. Each line tells you what is wrong in plain words, for example “sw.js is missing or does not expose a push listener”, so you can fix exactly that part and run the check again.
Step 3. Collect your first subscribers
Once the check passes, visitors start seeing the browser’s permission prompt. Open your own site and subscribe first: it is the easiest way to test everything that follows. New subscribers appear in Subscribers, and Activity shows what is happening with them.
A tip from experience: people agree more readily when they understand why. If you have a popup on the site, you can explain the benefit there (“turn on notifications and be the first to know about restocks”) before the browser asks.
Step 4. Build a segment
Sending everything to everyone is the fastest way to get people to block notifications. Go to Segments and click Create segment. You can combine:
| Condition | Example |
|---|---|
| Subscriber status | Active only |
| Recent activity | Seen in the last 7, 30 or 90 days |
| Device, browser, operating system | Mobile visitors only, for an offer that works best on a phone |
| Language, time zone | Russian-speaking subscribers in one time zone |
| UTM source, medium, campaign | People who subscribed after arriving from your Instagram bio link |
Under Advanced conditions, click Add condition to add rows; all of them must match. The Recipient preview shows how many real subscribers match right now, so you see the size of the audience before you send anything.
Step 5. Set up the Welcome series
The first message after subscribing sets expectations, so do not leave it to chance. Open Welcome and configure the sequence for your site. A welcome journey can have up to five steps: the first can wait up to 24 hours after subscribing, and follow-ups can be spaced up to 30 days apart. Click Send test to receive it yourself, then save the settings.
A simple, effective series: a thank-you with one useful link right away, and a second message three days later with your best-selling product or most popular article.
Step 6. Send your first campaign
Go to Campaigns and create a campaign. Fill in the Title, the Body and the Click URL, the page the notification opens. Choose the site and the audience: all active subscribers or the segment you built. If you are stuck for words, the AI Campaign Assistant can suggest drafts to choose from.
Before sending, use Test notification to see it on your own screen. Then send now or schedule it. If you want to compare two versions, the Campaign A/B test lets you split traffic between variant A and B and pick the winner by click rate or conversion rate.
Two safety nets live in Settings: a frequency cap (the maximum notifications per subscriber in 24 hours) and quiet hours, during which automated messages wait until morning. Set them once and they protect every future send.
A worked example: a small online shop
Say a shop selling handmade candles gets traffic from Instagram and Pinterest, but most visitors leave without buying.
- Welcome: step 1 right away, “Thanks for subscribing! Here is our bestseller collection”; step 2 after three days, “New scents for autumn are in”.
- Segment: “Seen in last 30 days” plus UTM source = instagram, for people who came from the bio link.
- Campaign: “Back in stock: the cedar candle sold out in a week” to the whole active audience, with the click URL pointing to the product page.
- RSS to Push: the shop’s blog feed, so every new care guide goes out as a notification without extra work.
Going further: automations and RSS
Automations is a visual builder for triggered flows. A flow starts from a subscriber event, a manual run or a custom event from your site, can check an audience condition, wait with a delay and send a notification based on one of your campaigns. Generate with AI drafts a flow for you; Test runs a dry run without sending anything; Publish switches it on. Nothing is sent until a valid flow is published.
RSS to Push watches a feed, for example your blog, and turns new items into notifications automatically.
Common mistakes
- sw.js in the wrong place. It must open at the root of the same domain. A copy in /wp-content/ or on a subdomain will fail the check.
- Sending to everyone, every day. Use segments and the frequency cap. People who get too many notifications block them for good.
- A click URL to the home page. Send people exactly to the product, article or offer the notification is about.
- No welcome message. The first days after subscribing are when people are most interested. Use them.
- Long texts. A notification is a line or two. The details belong on the page it opens.
How to measure the result
Open Reports and the campaign analytics. Watch delivery (sent, failed, expired), clicks and, if you track them, conversions. Delivery status tells you whether messages arrive; clicks tell you whether they are relevant. A high send count with few clicks is a sign to change the message or narrow the segment, not to send more. The Welcome section has its own view of opens, clicks and conversions per step, so you can see which step people actually respond to.
To connect clicks to sales, add conversion tracking on your order confirmation page; the campaign analytics will then show conversions next to clicks.
FAQ
Do subscribers need to install an app?
No. Web push works in the browser on desktop and mobile. The visitor only clicks “Allow” once.
Why does the installation check fail if I added the code?
Most often sw.js is not at the domain root, or the embed code is on some pages but not the one being checked. The check names the failing part; fix that one and run it again.
Can I send to only part of my subscribers?
Yes. Build a segment by activity, device, browser, language, time zone or UTM source and choose it as the campaign audience. The recipient preview shows the number before you send.
How often should I send?
There is no universal number. In our experience, one or two relevant notifications a week keep people subscribed better than daily ones. Set a frequency cap in Settings so no one gets too many.
Next lesson
Web push is best for short, timely alerts. For longer stories, offers and newsletters, continue with the email lesson and connect your own sender. The help article Email marketing, popups and web push: first steps gives a quick overview of all three tools. Ready to start? Open web push in AI SMM, and pair it with a popup that explains why subscribing is worth it. Publishing articles with the SEO module? Connect their feed to RSS to Push, and every new article reaches subscribers by itself.
Posts, chats, video and sales in one workspace. 7 days free.
Start free