
 AI SMM team
Most small teams do not lose time on writing posts. They lose it on the loop around them: a draft in a chat, a screenshot to the owner, “can you change the second line”, a new screenshot, and then someone copies the final text into four networks by hand. By the end of the month nobody is sure which version went out where. This lesson shows how to replace that loop with one calendar, one approval step and one schedule in AI SMM.
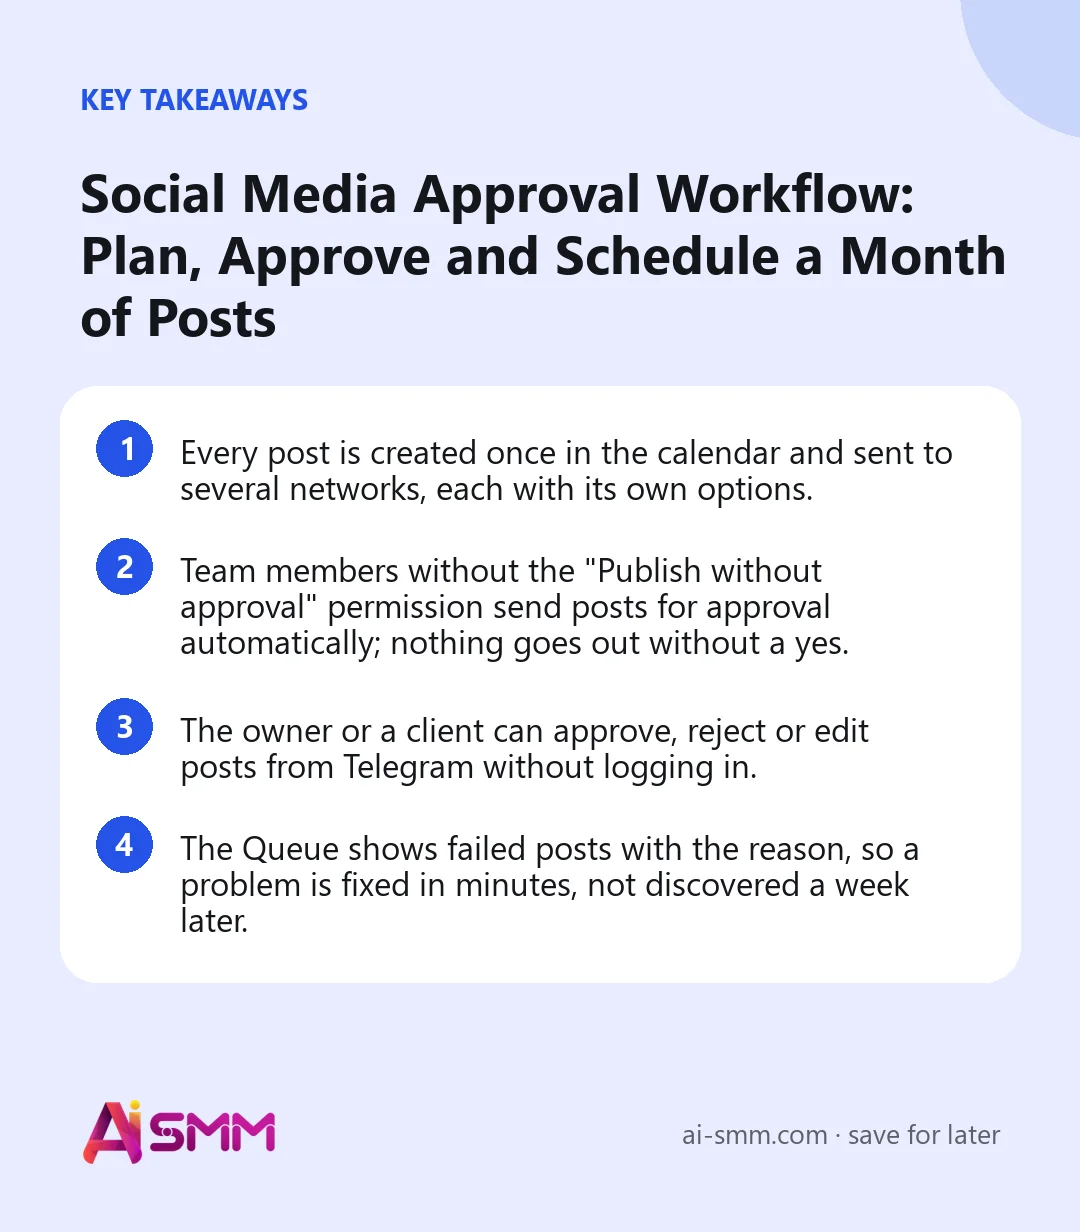
- Every post is created once in the calendar and sent to several networks, each with its own options.
- Team members without the “Publish without approval” permission send posts for approval automatically; nothing goes out without a yes.
- The owner or a client can approve, reject or edit posts from Telegram without logging in.
- The Queue shows failed posts with the reason, so a problem is fixed in minutes, not discovered a week later.
What you will build in this lesson
By the end you will have a month of posts in the calendar, spread across the networks you use, each post approved by the person who is responsible for the brand, and a simple weekly routine for checking what failed and what is missing. It takes one longer session to set up and about 30–45 minutes a week after that, in our experience.
What you need before you start
- Connected accounts. At least one network connected in Channels. If you have not done it yet, start with connecting your social accounts.
- A team member or a client who approves. Invite them to the project in Projects and team and decide whether they can publish on their own.
- A rough plan for the month. Four to eight themes are enough: offers, how-to posts, behind the scenes, reviews, events.
- Media. Photos and videos uploaded to Files, so you can pick them in the composer instead of hunting through a phone.
Step 1. Set up who approves and who publishes
Approval in AI SMM is not a separate switch you have to remember. It follows from permissions.
- Open the account menu and go to Projects and team. Check that you are in the right project: the project menu in the header shows which one is active.
- Click Invite member, enter the email and choose the Access level: Administrator, Editor or Member.
- Open Fine-tune permissions if you want to limit apps, and Managed accounts to choose which channels the person can work with.
- Leave the “Publish without approval” permission off for anyone whose posts should be checked, for example a junior marketer or a freelancer.
From now on, every post this person creates goes to approval on its own and stays a draft until the owner or an admin approves it. Details are in adding team members and setting permissions.
Step 2. Connect Telegram for approvals on the phone
Approvals stall when the approver has to log in to a web app. Let the requests come to the messenger they already read.
- Open Telegram notifications in the Connections section and click Connect Telegram.
- Approval requests will arrive in Telegram with Approve and Reject buttons.
- The Telegram Mini App lets the approver edit the post, rewrite it with AI, move it to another time, approve it or publish it now, all from the phone.
The same connection can also send messages about failed and successful publications and a statistics digest, including to a group with topics, which is handy when an agency keeps one group per client.
Step 3. Create channel groups
If you post the same kind of content to the same set of accounts every week, save that set once.
- Open Channel groups in the Connections section of the Social media management app.
- Click Create Group, give it a name by purpose (“Promo”, “Video”, “News”) and choose the accounts.
In the composer you will pick the group in the Channel field instead of ticking accounts one by one.
Step 4. Fill the month in the calendar
Open Social media management → Calendar. Switch to the Calendar grid to see the whole month. Now create the posts:
- Click Compose on a day to start a post for that date, or New Post at the top.
- In Channel, pick the accounts or a channel group.
- Write the text in Post caption, or open the AI tools and use AI Caption. Repurpose adapts one idea to different networks, which is better than the same text everywhere.
- Add media in Attached Media. Mind the network rules: Instagram needs media, Reels need exactly one video, Stories exactly one file, X takes up to four images, Facebook does not mix photos and video in one post.
- Fill in the options each network shows under Post To: Feed, Reels or Stories for Instagram and Facebook, a title for YouTube, a destination link for Pinterest, silent sending or a disabled link preview for Telegram.
- Click Show preview to check how it looks.
The full composer walk-through is in how to create and schedule a post.
Choose the time
Choose Specific Days & Times, then Schedule Post. Suggested windows show good times based on your history. You can add several time slots to one post, or set Repeat for posts that go out every week, such as a Friday schedule of free slots. Before you schedule a whole month, check that the time zone in your settings is right; a wrong zone is the most common reason a post “goes out an hour late”.
Use campaigns and labels
Add a campaign (“Spring sale”) and labels (“reviews”, “how-to”) to each post, plus internal notes for the team. Later the Campaigns and Labels tabs show all posts of one campaign in one list.
Step 5. Approve the month
When an editor without the right to publish clicks Schedule Post, the post goes to approval instead of the queue. The approver has two ways to handle it:
- In the web app: open the Approvals tab above the calendar, open the post, add a decision note if needed and click Approve or Reject. Open in composer lets them fix a line before approving.
- In Telegram: press Approve or Reject under the request, or open the Mini App to edit first.
Only the owner and people allowed to approve see the Approvals tab. A good habit: the approver goes through the whole week in one sitting instead of reacting to each post as it arrives.
Worked example: a nail studio’s April
Say a nail studio posts to Instagram, Facebook and a Telegram channel. The owner approves, a part-time assistant writes. Here is how a month might look:
| Week | Posts | Channels |
|---|---|---|
| 1 | Spring colours (carousel), free slots for the week (repeat every Monday), a before/after Reel | Group “Main”: Instagram, Facebook, Telegram |
| 2 | How long gel polish really lasts (tips), client review, free slots | “Main”; the Reel only to Instagram and Facebook |
| 3 | Offer: “bring a friend”, behind the scenes, free slots | “Main”, campaign “Bring a friend” |
| 4 | Care guide, new master introduced, free slots, reminder of the offer | “Main”, campaign “Bring a friend” |
The assistant drafts all posts in one afternoon. The owner gets Telegram requests, rewrites one headline in the Mini App and approves the rest. The Monday “free slots” post is created once with Repeat, and only the picture changes each week.
Step 6. Check the queue and fix failed posts
Networks sometimes refuse a post. AI SMM retries automatically a few times; if it still fails, the post gets the Failed status and the reason is shown in the Queue. Use Filters in the calendar to show only failed posts.
| Reason | What to do |
|---|---|
| Access to the account expired | Reconnect the account in Channels |
| A required field is empty | Add the title, cover or other field the network needs |
| Media not accepted | Check the format and number of files |
| Text too long | Shorten it for that network |
After fixing the cause, open the post and click Publish Now. More on statuses in the calendar, approvals and failed posts.
Common mistakes
- Giving everyone “Publish without approval”. Then the approval step silently disappears. Keep it only for people who own the result.
- Same text in every network. A LinkedIn post and a Telegram post read differently. Repurpose, or at least shorten for X and Bluesky.
- Approving post by post. It turns the owner into a bottleneck. Approve the week in one sitting.
- Not looking at the queue. A failed post is invisible if nobody opens the Queue. Turn on failure messages in Telegram.
- Empty days nobody notices. Once a week, look at the month grid for gaps.
How to measure the result
Judge the workflow by three simple things. First, how many posts went out as planned against how many were scheduled: the calendar filters by published, failed and pending make this a one-minute check. Second, how long a post waits in Approvals: if it is days, move approvals to Telegram or agree on a fixed approval slot. Third, whether regularity improved: the Score tab in Pulse counts regularity as one of its factors, so steady posting shows up there over a month. See analytics with AI hints.
FAQ
Can a client approve posts without an account?
Yes. Posts can come to the client’s Telegram, where they approve, reject or edit them in the Mini App.
What happens to a post that was rejected?
It is not published. The author sees the decision and the note, fixes the post and sends it again.
How many posts can I schedule?
The Start plan includes 200 posts a month; Business and higher plans have no post limit.
Can I move a post after it was approved?
Yes. Drag it to another day in the calendar; AI SMM asks whether to change the time or keep it.
Next lesson: make the posts themselves faster and closer to your voice with the brand profile and AI Studio. When you are ready, open the publishing calendar and create your first approved week.
Posts, chats, video and sales in one workspace. 7 days free.
Start free